Mastering Throwing Mechanics: A Guide to Perfecting Your Technique
Throwing is one of the most dynamic and powerful movements in sports, whether you’re throwing a baseball, football, javelin, or just aiming to enhance your throwing ability. While many focus on strength and power to improve their throws, mastering the technique is equally crucial. Proper throwing mechanics can improve your performance, increase your accuracy, and reduce the risk of injury. Whether you’re a beginner or a seasoned athlete, understanding and perfecting your throwing technique is essential for unlocking your full potential.
In this article, we’ll take a deep dive into the fundamentals of throwing mechanics. From the initial windup to the follow-through, we’ll break down the key components that go into a perfect throw and provide actionable tips to help you refine your technique.
Understanding the Basics: The Throwing Motion
Before we get into the details, it’s important to understand the throwing motion as a whole. Throwing is a complex movement that involves multiple phases, including the windup, the acceleration phase, the release, and the follow-through. Each phase of the throw plays a vital role in delivering a powerful, accurate throw.
At the heart of the throwing motion is the kinetic chain—the sequence of movements that begin with the legs and transfer force upward through the hips, torso, shoulder, and arm. The more efficiently this chain operates, the more powerful and accurate the throw will be. A weak link in any part of this chain can reduce throwing power, accuracy, and control.
Phase 1: The Windup – Setting the Foundation
The windup is the first phase of the throwing motion, and it serves as the preparation for the entire throw. This phase is often overlooked, but it’s vital for setting up an efficient transfer of energy throughout the rest of the throw. A good windup allows you to build tension and control while preparing your body to deliver maximum force.
The key elements of a good windup include:
Proper Posture: Start with a strong, upright posture. Your feet should be shoulder-width apart to provide a stable base. As you begin the windup, your body should maintain its natural alignment, ensuring that your muscles can efficiently transfer energy throughout the kinetic chain.
Hip Rotation: The windup phase begins with a slight rotation of the hips. This motion begins the process of loading your body with energy that will be released during the acceleration phase. As you rotate, keep your torso aligned and focus on generating rotational power from the hips.
Arm Position: Keep your throwing arm bent and close to your body. This helps maintain tension in your muscles and keeps the arm ready to transfer force. Avoid overextending the arm too early in the windup, as this can reduce control and power.
A smooth, controlled windup allows you to efficiently transfer energy from the lower body into the upper body and arm. It’s important to practice this phase slowly at first, ensuring that you build muscle memory before increasing speed.
Phase 2: The Acceleration Phase – Building Power
The acceleration phase is when you begin to release the power generated during the windup. This phase is all about transferring energy through your body into the throwing arm. The more efficiently your body can accelerate during this phase, the more power will be generated for the throw.
Here are the key elements to focus on during the acceleration phase:
Explosive Lower Body Drive: The acceleration phase begins with a powerful push from the legs. Push off with your back foot and drive your hips forward, generating force that will be transmitted upward through the torso. Your legs, glutes, and hips provide the majority of the power in the throw, so a strong lower body is essential.
Torso Rotation: As your hips drive forward, your torso should follow in a rotational motion. This rotation allows the energy from the lower body to transfer efficiently into the upper body. Keep your chest facing the target as you rotate, but allow your shoulders to unwind as they move toward the throw.
Arm Acceleration: While the lower body and torso generate most of the power, the arm must still accelerate quickly to deliver the final force. Focus on driving your elbow forward and snapping your wrist at the moment of release. The elbow should lead the motion, with the arm following in a smooth, fluid motion.
The acceleration phase is critical for maximizing the power of your throw. Speed and control are key, and this phase should be practiced with explosive energy. Start slow to focus on form, then gradually increase the intensity as your mechanics improve.
Phase 3: The Release – The Moment of Truth
The release is the most crucial moment of the throw. It’s the instant when all the stored energy is unleashed, and the object is propelled toward its target. Mastering the release is essential for achieving both power and precision in your throw.
Several elements contribute to a successful release:
Hand Placement: As your arm extends forward, your hand should be positioned in a way that allows for maximum control. The throwing hand should remain relaxed but firm, with your fingers extending fully at the moment of release.
Wrist Snap: The wrist snap adds velocity and spin to the throw, increasing its accuracy and distance. Focus on snapping your wrist at the moment of release to impart spin to the ball or object. This helps stabilize the throw, keeping it on target.
Follow-Through: The follow-through is a natural extension of the release. It helps decelerate your arm safely and maintain control of the throw. A smooth follow-through also prevents injury by allowing the shoulder and elbow to gradually slow down, reducing the risk of strain.
The release is where all the energy from the windup and acceleration phases comes together. A controlled, powerful release maximizes throwing velocity and accuracy. Focus on timing and wrist action to ensure the release is both forceful and precise.
Phase 4: The Follow-Through – Control and Recovery
The follow-through is often overlooked, but it’s an essential part of the throwing technique. After the release, your body needs to decelerate smoothly to avoid injury and ensure a safe, controlled landing. A proper follow-through also ensures that the throw stays on target and doesn’t veer off-course.
The key elements of a proper follow-through include:
Deceleration: After the release, allow your arm to continue its motion in a smooth arc. Let your throwing arm pass across your body without forcing it to stop suddenly. Deceleration helps reduce stress on the shoulder and elbow, preventing potential injury.
Body Alignment: As your arm follows through, your body should remain aligned with the target. Your weight should shift from your back foot to your front foot as you complete the throw. A stable, balanced follow-through will help maintain control and accuracy.
Shoulder Recovery: The shoulder joint undergoes a significant amount of stress during the throw, especially in high-velocity sports. A proper follow-through helps the shoulder recover naturally, avoiding strain and improving long-term mobility.
A well-executed follow-through reduces the risk of injury and allows for a controlled, efficient throw. It also ensures that the throwing motion remains fluid, leading to more consistent performance over time.
Common Throwing Mistakes to Avoid
Even the best athletes can struggle with throwing mechanics. Below are some common mistakes that can compromise your technique:
Overstriding: Many athletes make the mistake of overstriding with their front foot, which can disrupt the flow of energy during the throw. Keep your stride short and controlled, ensuring your front foot lands in a strong, stable position to transfer power efficiently.
Lack of Hip Rotation: Failing to rotate your hips during the windup and acceleration phases reduces the effectiveness of your throw. Always engage the hips first, followed by the torso, before accelerating the arm.
Arm Leading: Relying too much on arm strength can lead to inaccurate throws and poor mechanics. Ensure that your legs and torso are driving the movement, with the arm following through in a natural, fluid motion.
Premature Arm Extension: Extending the arm too early can reduce control and increase the risk of injury. Focus on maintaining a compact arm position during the windup and acceleration phases, extending fully only at the release.
Perfecting Your Technique: Drills and Training Tips
To perfect your throwing mechanics, regular practice and focused drills are essential. Here are some exercises to help improve each phase of the throwing motion:
Hip Rotations: Practice hip rotations to improve your ability to generate rotational power. Stand with your feet shoulder-width apart and rotate your hips back and forth. Focus on engaging your core and improving your rotational range of motion.
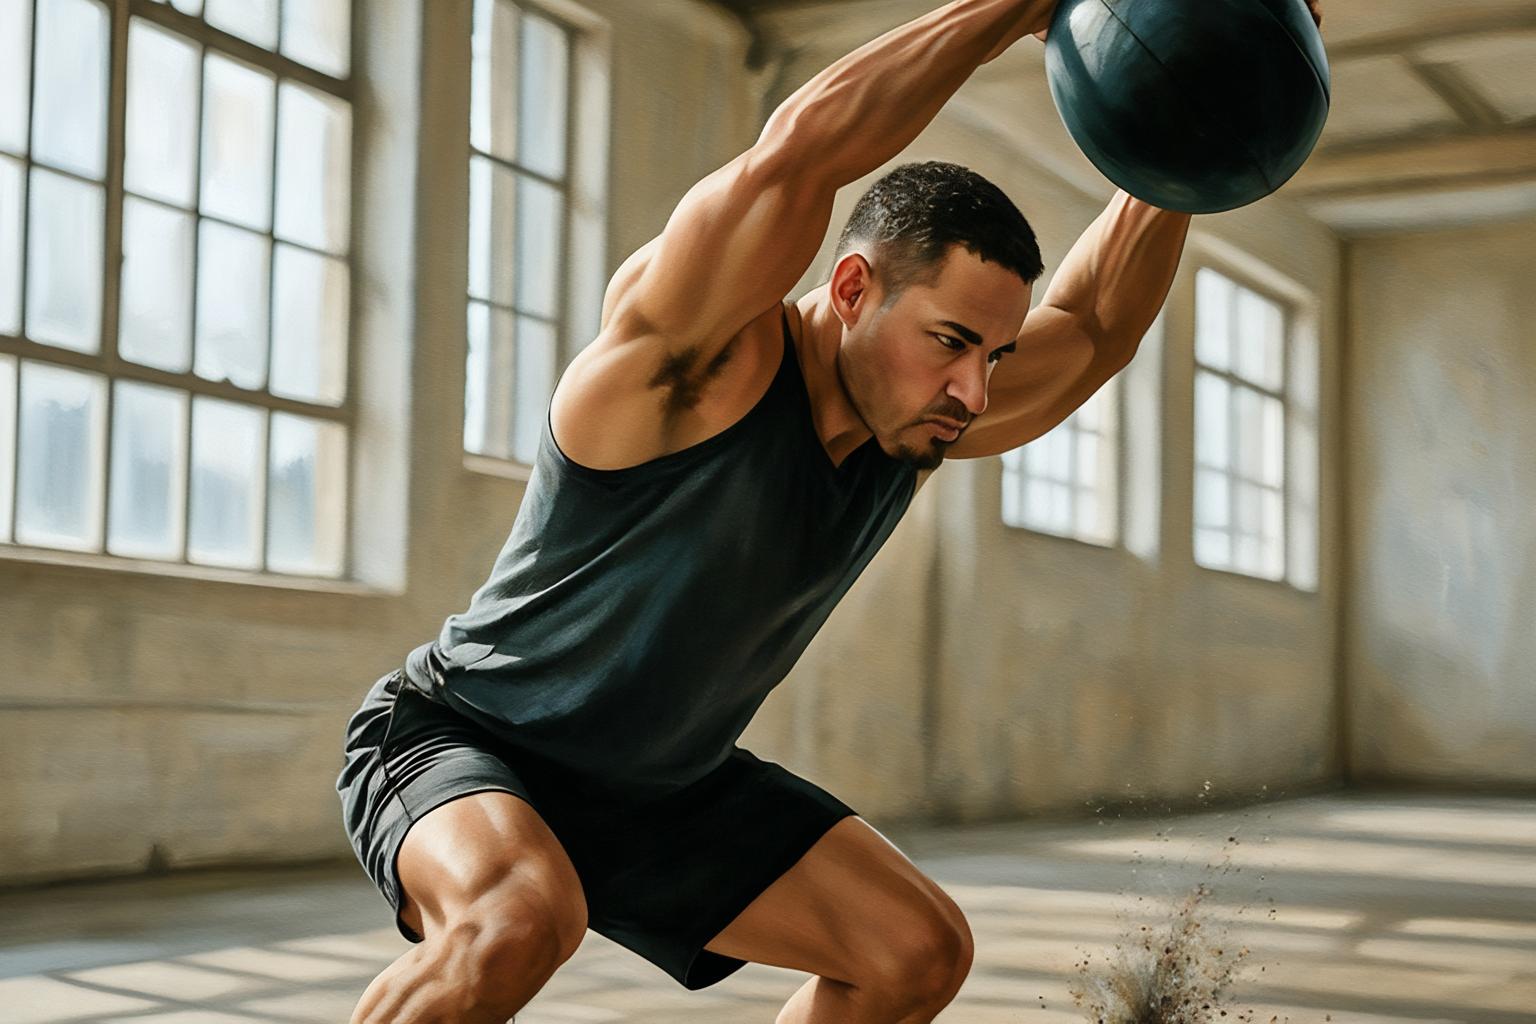
Medicine Ball Throws: Use medicine ball throws to simulate the throwing motion and improve power. Stand with your back to a wall, rotate your torso, and throw the ball against the wall with explosive force. This drill mimics the rotational power of a throw.
Long Toss: Long toss exercises help improve arm strength and release technique. Start with short throws and gradually increase the distance as your form improves. Focus on smooth acceleration and controlled releases.
Band Work: Resistance bands are a great tool for improving shoulder stability and arm strength. Use bands to mimic the throwing motion, focusing on controlled movements and proper form.
Your Journey to Throwing Mastery
Mastering throwing mechanics takes time, dedication, and practice. Focus on each phase of the throw, making incremental improvements along the way. Whether you’re an athlete looking to improve your competitive performance or someone seeking better throwing technique, understanding and practicing proper mechanics is the key to unlocking your full potential.
Remember, every throw is a chance to refine your technique. With consistent practice, attention to detail, and a focus on controlled movements, you’ll be well on your way to perfecting your throwing mechanics and achieving new heights in your throwing performance.
Focus on Efficient Energy Transfer: Ensure that your legs, hips, torso, and arm work together in a smooth, efficient kinetic chain.
Improve Each Phase: Break down your technique into distinct phases (windup, acceleration, release, follow-through) and practice each one individually.
Regular Drills and Practice: Use drills and training exercises to improve your throwing mechanics and reinforce proper form.
Through dedication, patience, and consistent training, you’ll perfect your throwing technique and become a more powerful, accurate, and efficient thrower.


